
I have been assisting Nadine Hsu of Sachiko Studio for over a year now and have learned so much about photography and business. This year, she has expanded her business to help other aspiring photographers with two workshops. While I cannot attend her Fancy Portrait workshop this Sunday (5/31/15), I thought I'd discuss some of the topics she will be covering to encourage you to attend if you would like to learn more. I was lucky enough to learn from her through assisting her, so I would HIGHLY recommend you check out her workshop.
To reserve your seat and check out the outline for the workshop, please check out
http://www.sachikostudio.com/workshops/.
To reserve your seat and check out the outline for the workshop, please check out
http://www.sachikostudio.com/workshops/.
Portraits
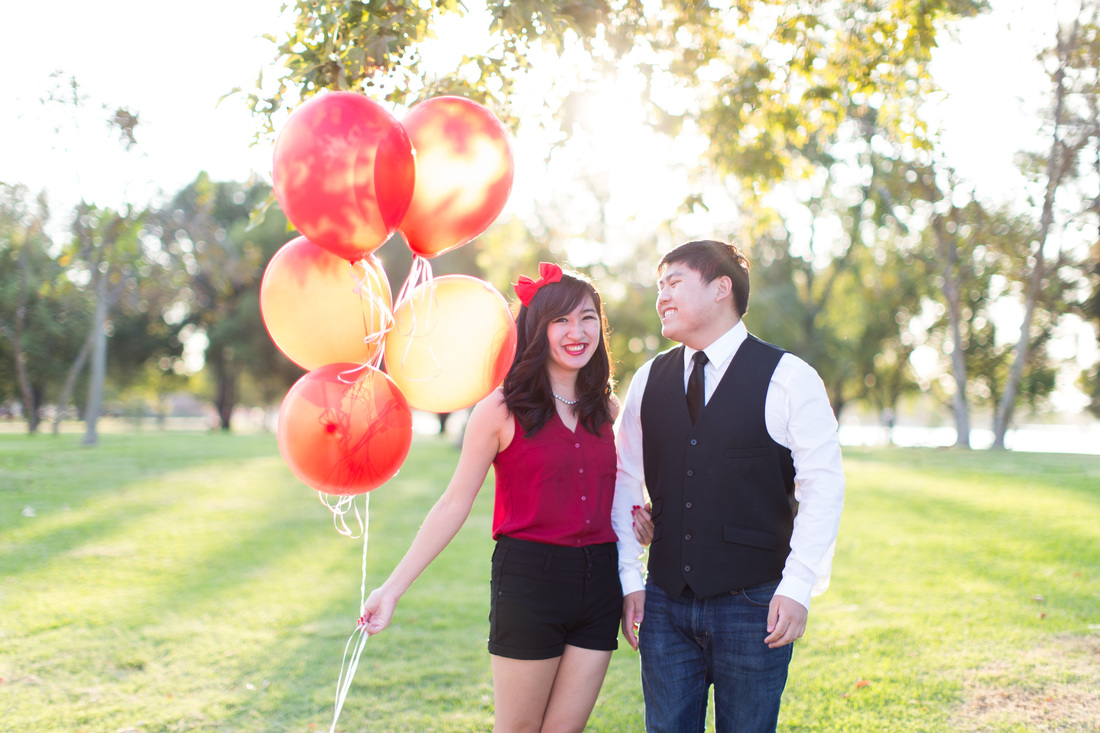
The number one thing Nadine has taught me is that a portrait is 50% technical skills and 50% social skills. From being her client to watching Nadine interact with her clients, I have learned that it is important to constantly give your subjects feedback. During her workshop, she is bringing in a real life couple to show you how she works with her clients.
Here is are a few examples of her working with me. In these photos, she was constantly giving me/us directions on what we should be doing and ensuring me/us that we looked good. By doing this, we never had time to feel like we looked awkward. Giving positive feedback also made me/us feel confident, resulting in a better photo.
Here is are a few examples of her working with me. In these photos, she was constantly giving me/us directions on what we should be doing and ensuring me/us that we looked good. By doing this, we never had time to feel like we looked awkward. Giving positive feedback also made me/us feel confident, resulting in a better photo.
  |  |
Lighting
The above photos are also examples of challenging lighting. As you can see, the sun was behind me/us in each of the photos. While backlighting is beautiful, it can sometimes be hard to properly expose. Nadine used the trees to help diffuse the light, so it wouldn't be as harsh. She also used a low aperture (I'm guessing somewhere between f/1.8-2.2) to create a beautiful bokeh (bubble looking) effect for the background. Each of these photos were also taken in nice shaded areas, resulting in nice even light on our faces instead of having harsh shadows in full sun.
During her Portrait Workshop a few weeks ago, she discussed looking for shaded areas and avoiding harsh sunlight. In her Fancy Portrait workshop on Sunday, she will be going over backlighting and shooting in full sun.
During her Portrait Workshop a few weeks ago, she discussed looking for shaded areas and avoiding harsh sunlight. In her Fancy Portrait workshop on Sunday, she will be going over backlighting and shooting in full sun.
Results
These were some of the basic things that she will be going over during the workshop. Here are some samples of my work after learning from her.
Portraits
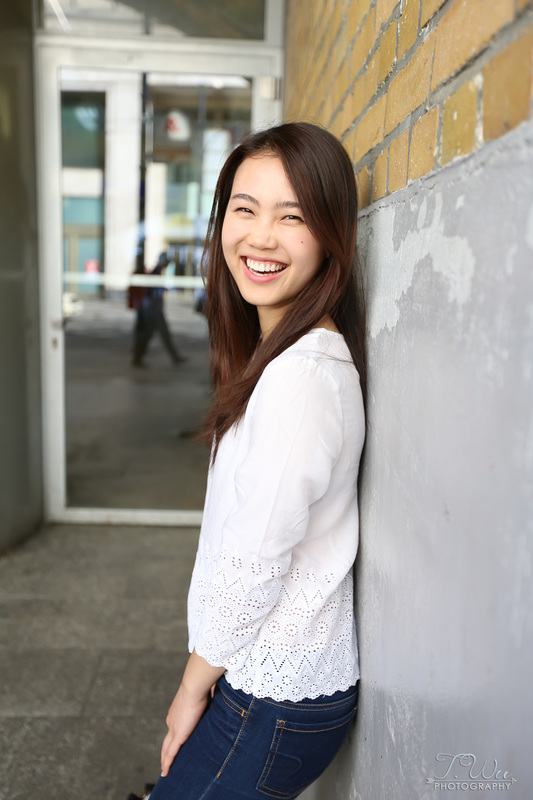 | 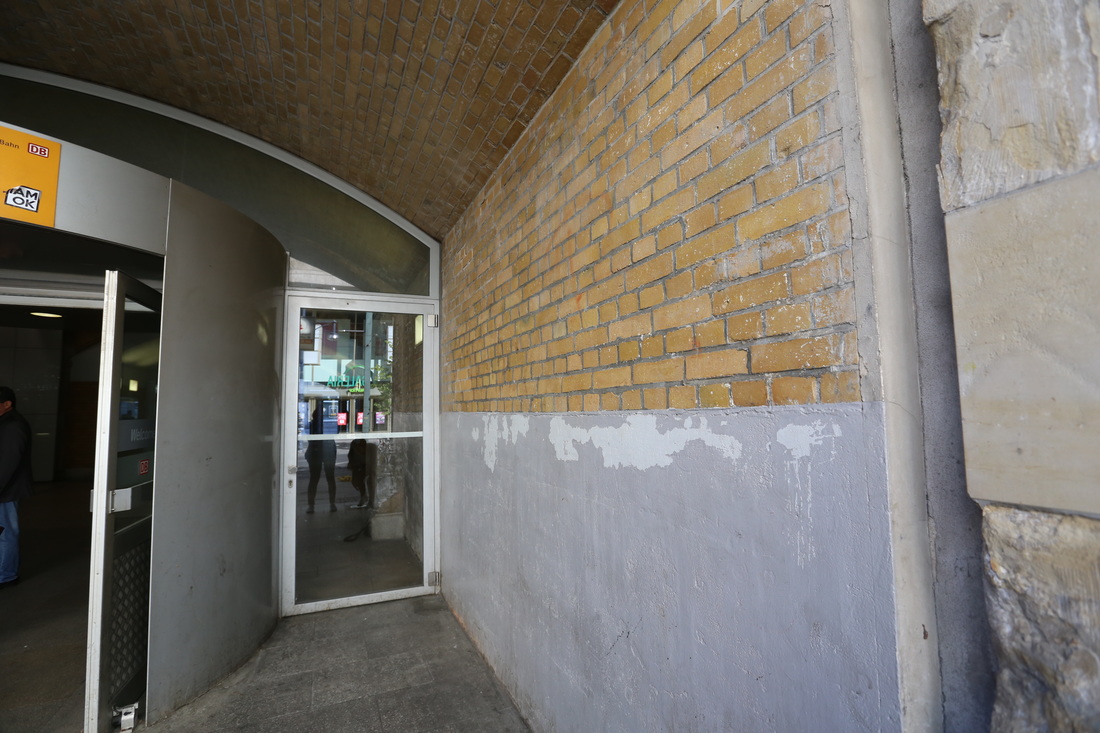 Before I would've just seen a dirty wall. Now, I see a nice shaded area to see a portrait. As you can see in the reflection, there was a building across from this area that was brightly lit by the sun. This created a nice natural reflector that illuminated Amy's face. Since Nadine and I are both natural light photographers, these natural reflectors are really important when scouting out lighting. In this photo, I showed Amy exactly what I wanted her to do by leaning against the wall myself. I also guided her by telling her to turn her face towards me. The smile came naturally when I told her that she looked really cute! |
Composition
 |  There are two things Nadine always taught me to look for: lines and grids. The photo on the left is an example with both. The gate provides a great frame that leads your eyes to the subjects. The gate is also nice in that it is symmetrical on both sides. The photo on the top right is nice in that it follows the rule of thirds. If you divide your photo into three both horizontally and vertically, you'll have a 3x3 grid on your photo. You want to place the subject of your photo according to these grids. As you can see in the top right photo, I placed the couple towards the right of the photo along the grid. The stones also provide a nice grid and are lines leading to the subject. |
Lighting
 | While the sun wasn't shining in from behind this group, there was a bright patch being illuminated behind them. I used the trees to help diffuse the light and did a tighter crop on my subjects in order to bring the focus on them instead of the light behind them. While the light was patchy because of the trees, I made sure that the patches were only on their bodies, so it wouldn't awkwardly light their faces. I also put my subjects in a shaded area, making the light on their skin even. |
Here are some of the basics I've learned from Nadine, but there is much more that I could go on forever talking about. I hope this helps explain some things about lighting, composition, and posing. If you would like to learn more and see a live demonstration, again I highly recommend checking out Nadine's workshop at the link above. Have a great night!
-T.Wu
-T.Wu
 RSS Feed
