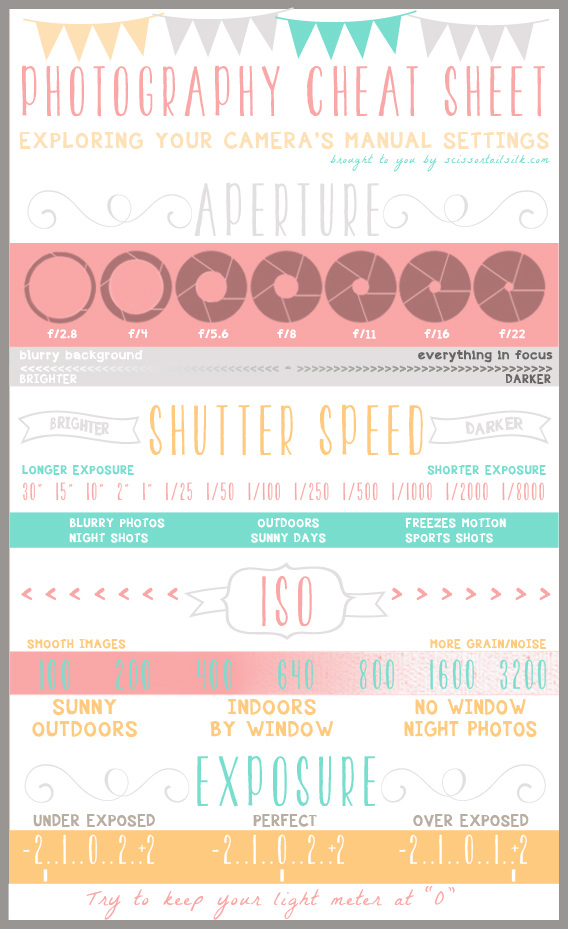
This cheat sheet is one of my favorite infographics created by Becky Thompson at Scissortail Silk! It is a wonderful summary of what all the settings do, and breaks down how the settings affect exposure.
Now that you know the settings, where the heck do you get started?? Here is how my thought process normally is when I'm adjusting settings. I am not an expert on photography, but this is what works for me! If shooting in manual mode intimidates you, try shooting in Aperture Priority (Av) mode first. Av mode lets you control aperture and ISO.
Now that you know the settings, where the heck do you get started?? Here is how my thought process normally is when I'm adjusting settings. I am not an expert on photography, but this is what works for me! If shooting in manual mode intimidates you, try shooting in Aperture Priority (Av) mode first. Av mode lets you control aperture and ISO.
Aperture
I usually start here because I know that I love shooting with wide apertures in order to get a blurrier background (bokeh!). This means that my aperture will be anywhere between 1.4-5.6 for portraits (varies by group size/what I'm trying to shoot). Meanwhile, really small apertures (big numbers-- I know it can be confusing at first) like f/5.6-22 can be really cool for landscape shots!
Quick summary of terms:
<----------------------------------->
f/1.2 f/22
Blurry background Everything in focus
Brighter Darker
Wide/large Narrow/small
(if you notice in the infographic, the lens is opening up more when shooting with the smaller number apertures and that's why it's called shooting wide or shooting with large apertures)
Another thing to keep in mind with apertures is that the distance between you and the subject, and the plane the subjects are on affects the aperture. I'll dedicate a whole another post about this in the future!
For now, here are some examples!
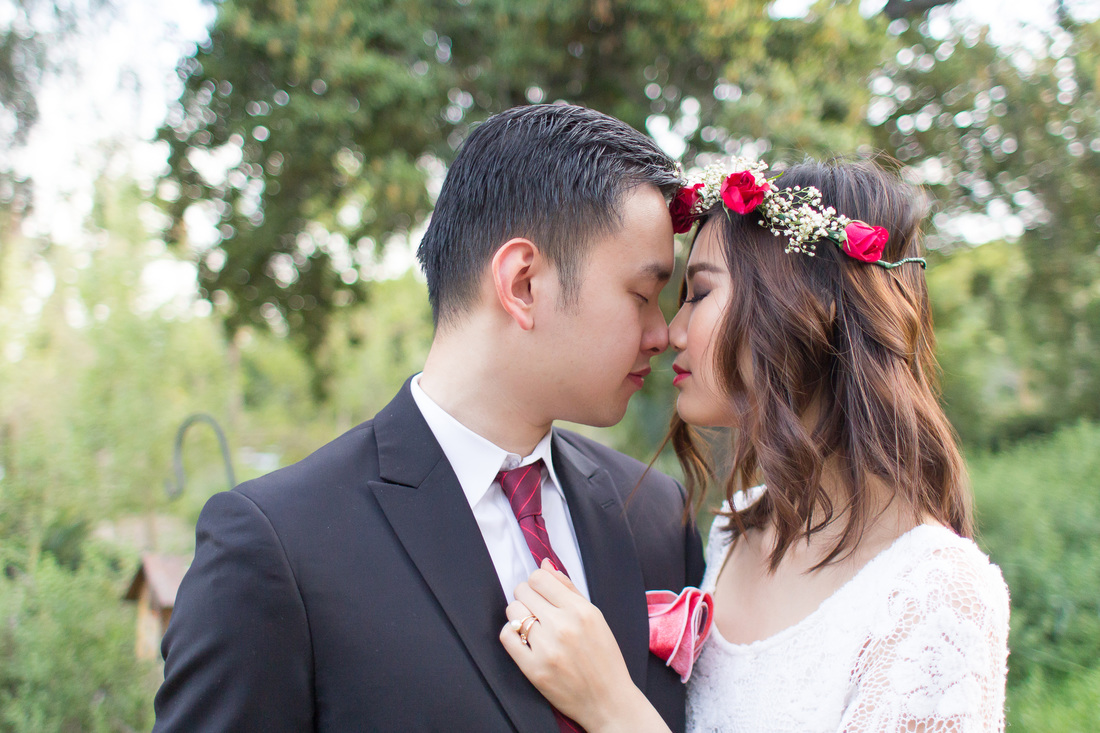
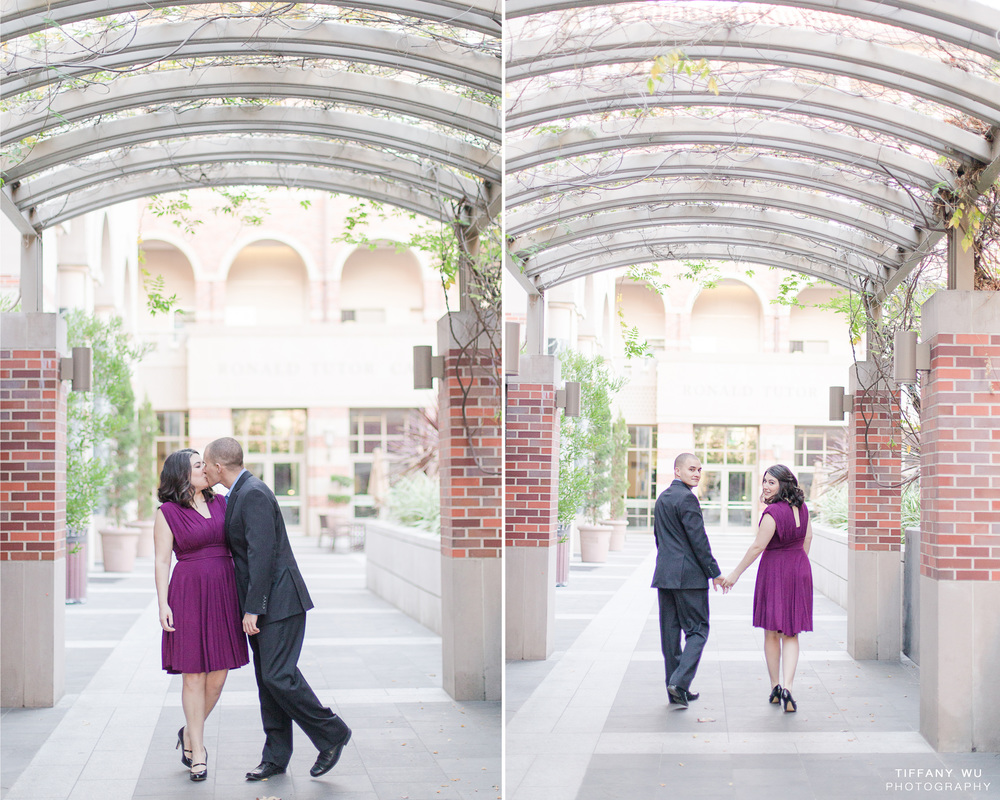
1/1000 f/1.8 ISO 800
Notice the blurry background created from shooting at 1.8? :)
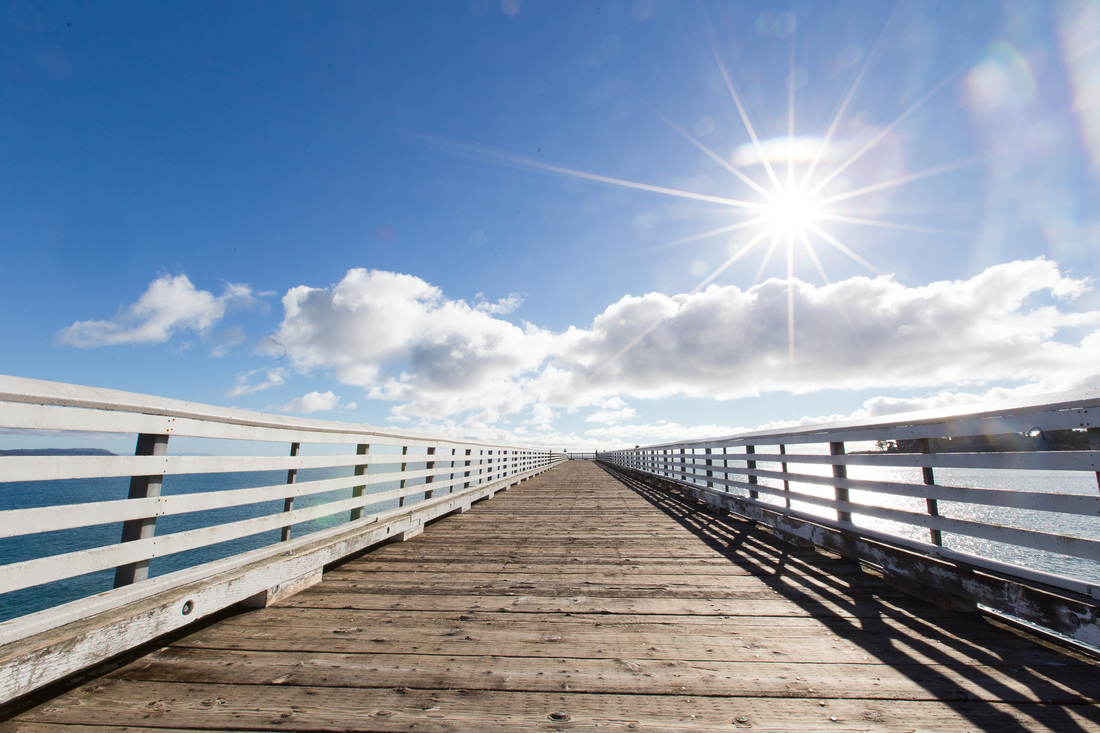
1/400 f/22 ISO 800
If you notice in this shot, the whole bridge from front to back is in focus from shooting at f/22!
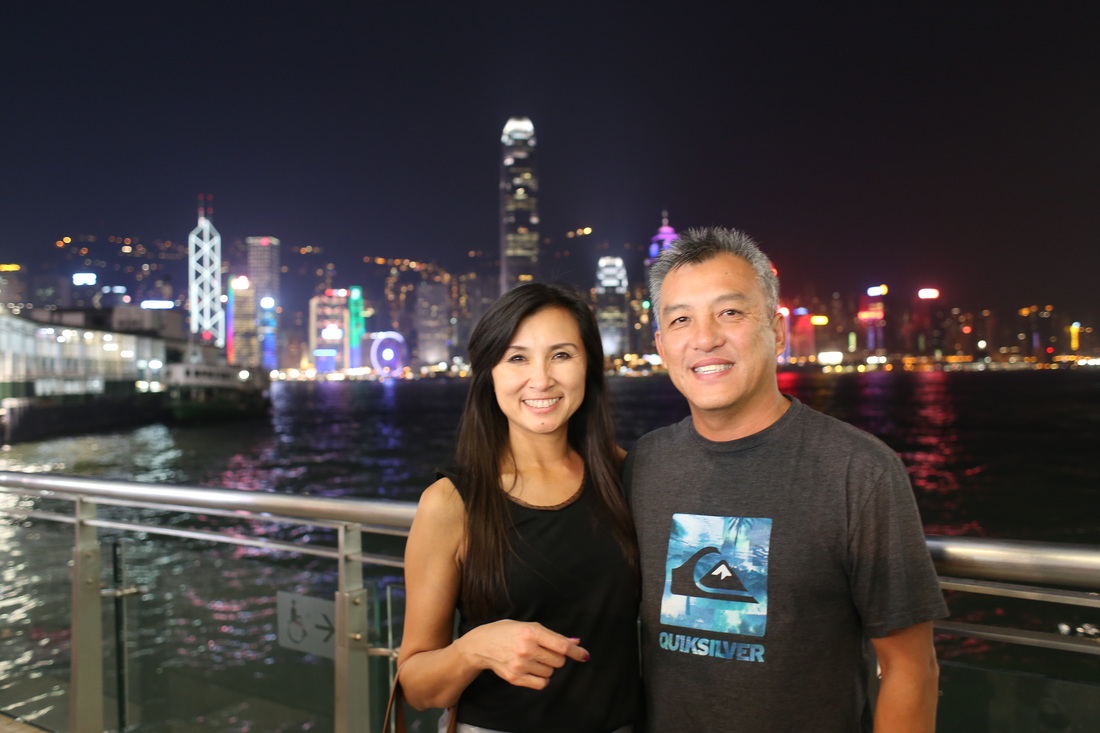
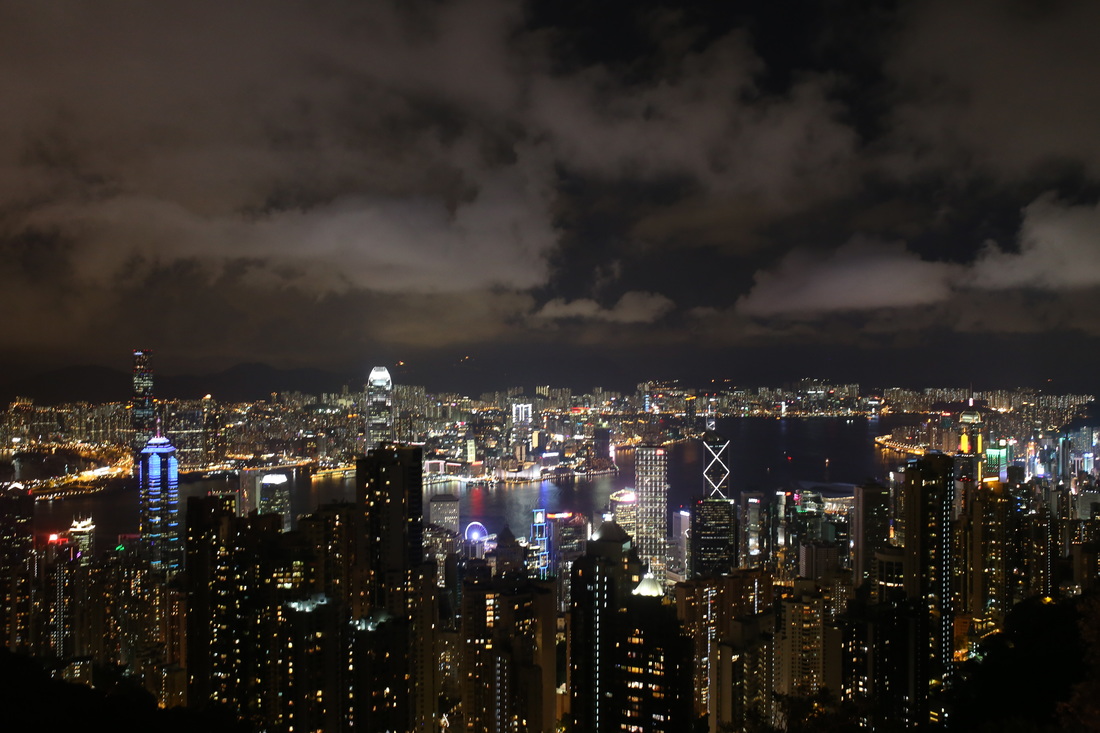
1/25 f/2.8 ISO 2500
Shooting at a wide aperture can also save you at night as well! Note: In this particular shot of my parents in Hong Kong, my shutter speed was really slow-- I will note why this can be a bad thing below.
Shutter Speed
Faster shutter speeds freeze motion while a slower speed catches more motion. Since I try to get sharp photos of my subjects without them moving, my shutter during a portrait session will range from 1/500-1/1000 in the day outdoors, and 1/125-1/500 indoors with light shining in. As I get slower than that, I'll break out my external flash to help me out in the dark. However, I'll also try to shoot at slower shutters 1/60-1/125 without the flash as well for some creative shots when it is darker. (The shot of my parents above was achieved without a flash using a slow shutter)
Long exposures at multiple seconds (looks like this: 5'') can be used for night photography and light writing, but you'll need a tripod for these shots!
Summary of Shutter Speed:
<----------------------------------->
5'' 1/30 1/125 1/500 1/1000 (apologies for the lack of proportional spacing)
More motion Freezes motion
Long exposure Short exposure
Brighter Darker
1/800 f/1.8 ISO 640
Though they are moving, there is no motion in these shots!
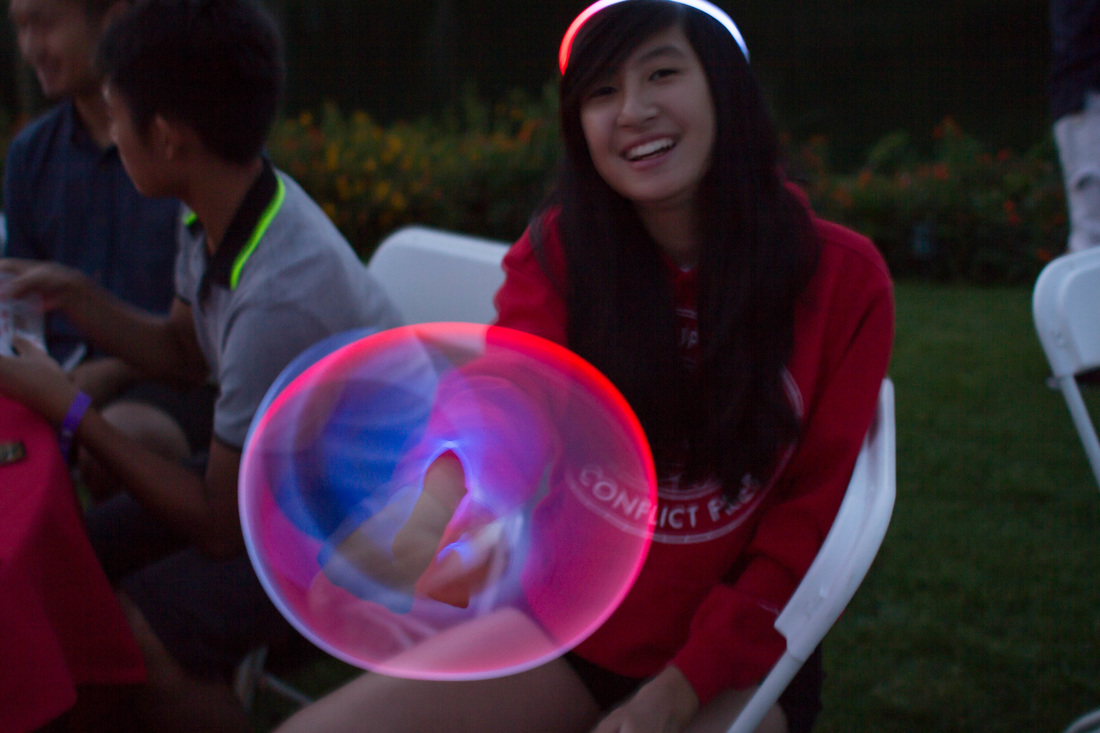
1/5 f/1.8 ISO 100
Here is an example more towards when I first started photography and didn't really know what I was doing, so you'll question my settings for this shot. However, it clearly shows the motion from slowing your shutter! The camera is capturing the movement of the glow stick that my sister is spinning. You'll also notice that my sister's face is slightly blurry, and this is because she is also slightly moving in this shot.
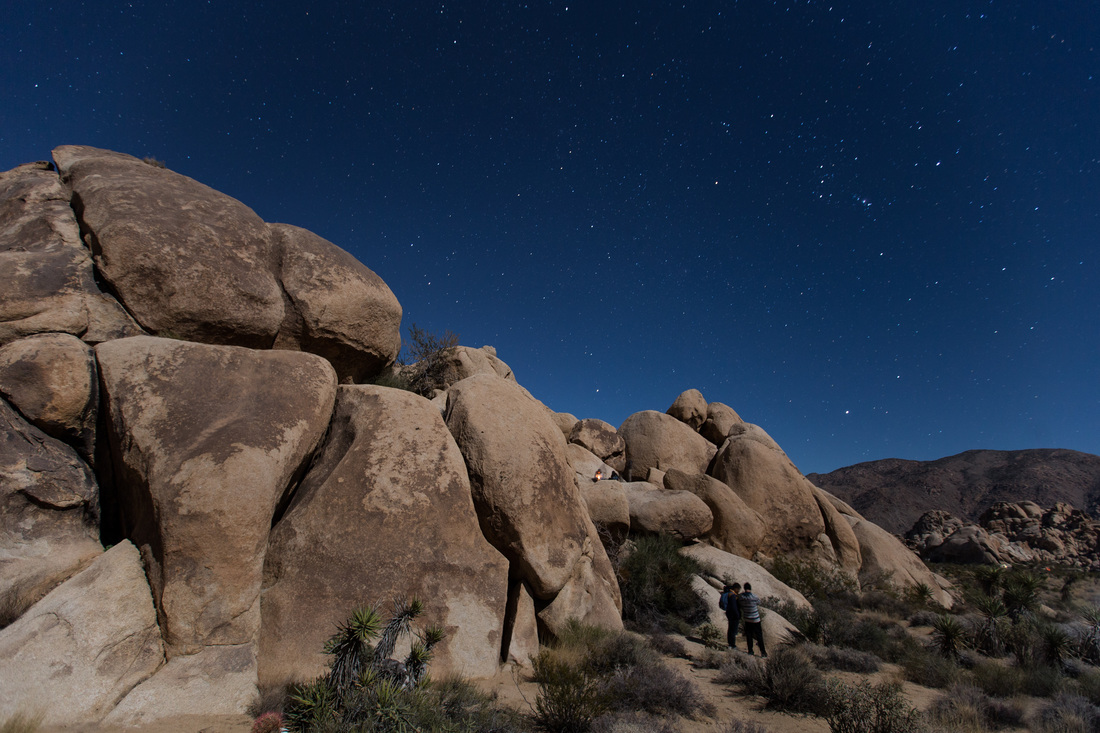
30'' f/3.2 ISO 320
Here is an example of a long exposure night photography shot at Joshua Tree. Since my shutter speed was 30 seconds, I had my camera mounted on a tripod with a backpack hooked on to keep it weighted down. The tripod can move if there is wind, so the backpack helps!
ISO
ISO is usually the last thing I'll adjust, and then go back and adjust the other settings if I feel it's necessary. The ISO is pretty straightforward: low ISO is for brighter locations while high ISO is used when it's darker. The issue with shooting at high ISOs is that you'll start to see some grain in the photo--this depends on your camera. My Canon 60D (crop sensor) would start to struggle when I hit ISO 1250, but my 6D (full frame) performs pretty well at ISO 2000-3200.
Summary of ISO:
<----------------------------------->
100 3200
Sunny Night
Smooth Grain/Noise
Summary of ISO:
<----------------------------------->
100 3200
Sunny Night
Smooth Grain/Noise
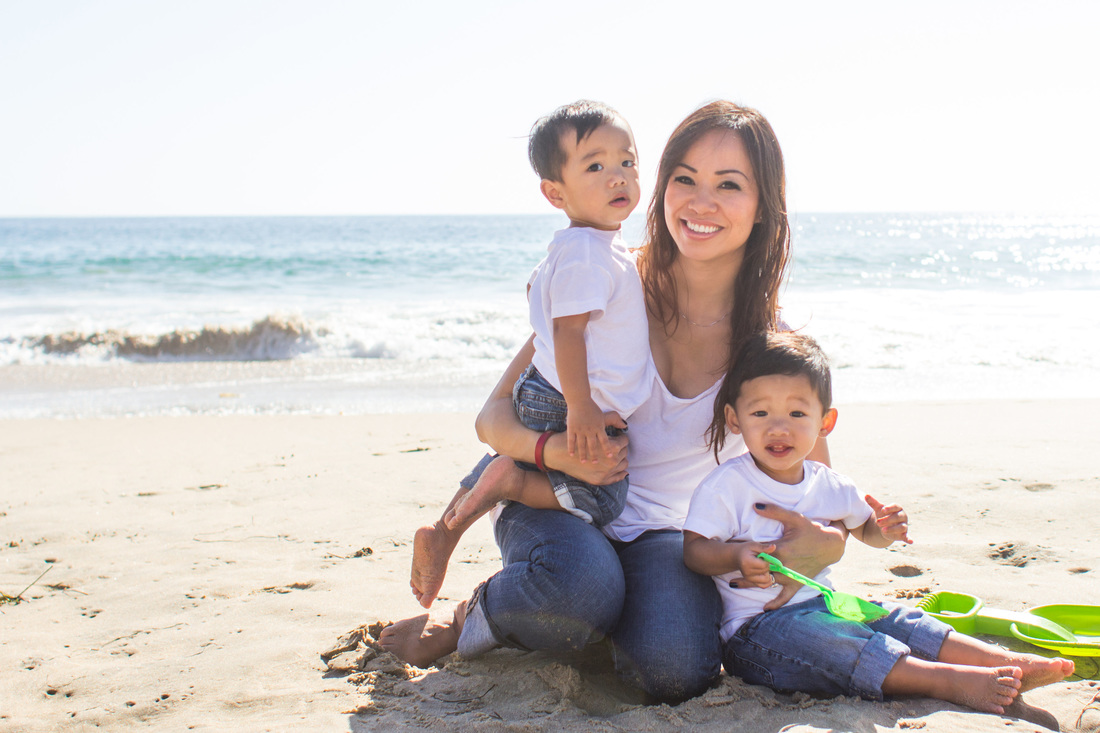
1/2000 f/3.2 ISO 200
This photo was shot in the afternoon (the worst time to shoot) at the beach (no shade!) while I was second shooting with Nadine at Sachiko Studio. Since it was so bright, my ISO was pretty low and I had a really fast shutter in order to properly expose the photo.
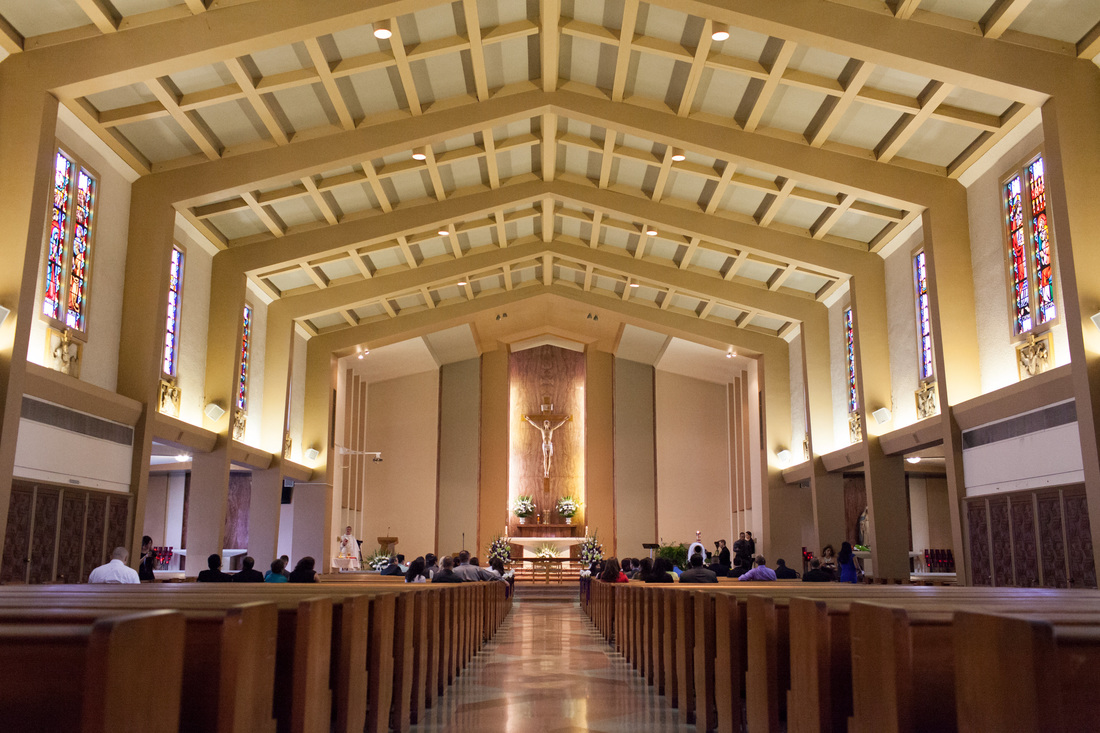
1/160 f/3.5 ISO 6400
This was also from my early days of shooting when I had my 60D. If you open this photo full screen, you'll notice a significant amount of grain from shooting at ISO 6400. It was a really dark church, but my settings on my 60D should have looked more like this: 1/125 f/1.8 ISO 1250. I should have been more aware to shoot with a lower ISO since the 60D is a crop sensor camera.
1/5 f/5.0 ISO 2500
This photo was shot on my full frame 6D, so you won't see too much grain at ISO 2500. You will notice some blurriness from shooting at 1/5 shutter without a tripod. I attempted to be really still holding my camera on a rail, but there was some shake from shooting at such a slow shutter.
I know I'm not an expert, but I really hope this helps anyone who is still learning about settings! I will try to share more of my settings as I write my other blog posts.
Stay tuned next Tuesday at 8pm for more on the blog!
I know I'm not an expert, but I really hope this helps anyone who is still learning about settings! I will try to share more of my settings as I write my other blog posts.
Stay tuned next Tuesday at 8pm for more on the blog!
 RSS Feed
